Continued from part 3: the finished product.
I designed the bed to be assembled in place with fasteners. It worked out that the ground clearance of the bed was a perfect match for my sawhorses. (I wish I could say that was a design feature, but rather it was a happy accident that greatly simplified assembly. This thing is heavy!)
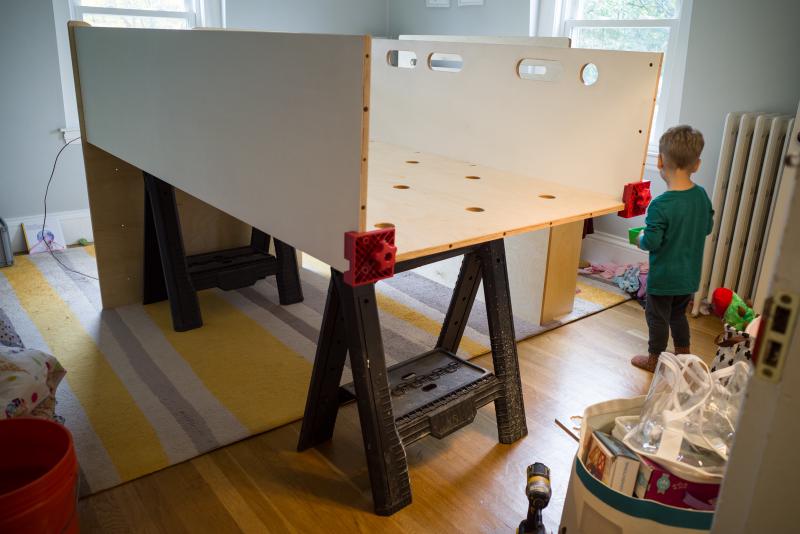
My kids were happy to help, in particular by managing my stash of connecting dowels. I assembled the bed before the stair-drawers were complete. That didn’t stop them from testing the bed level early!
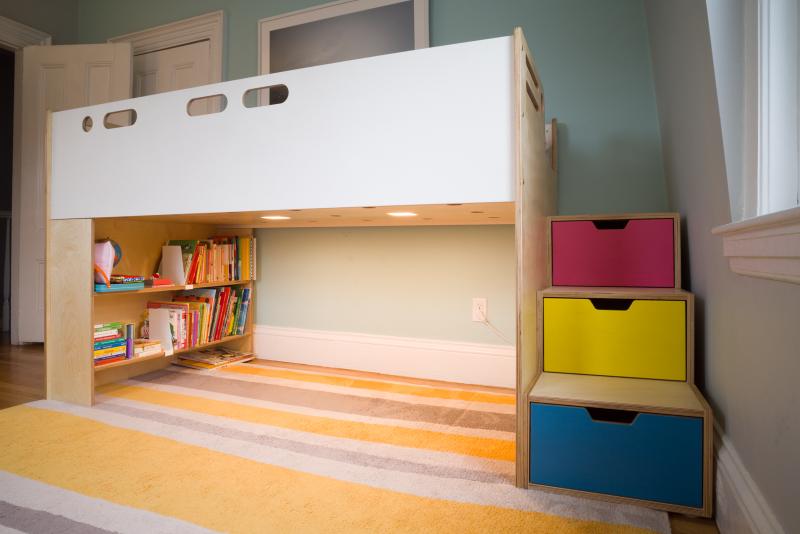
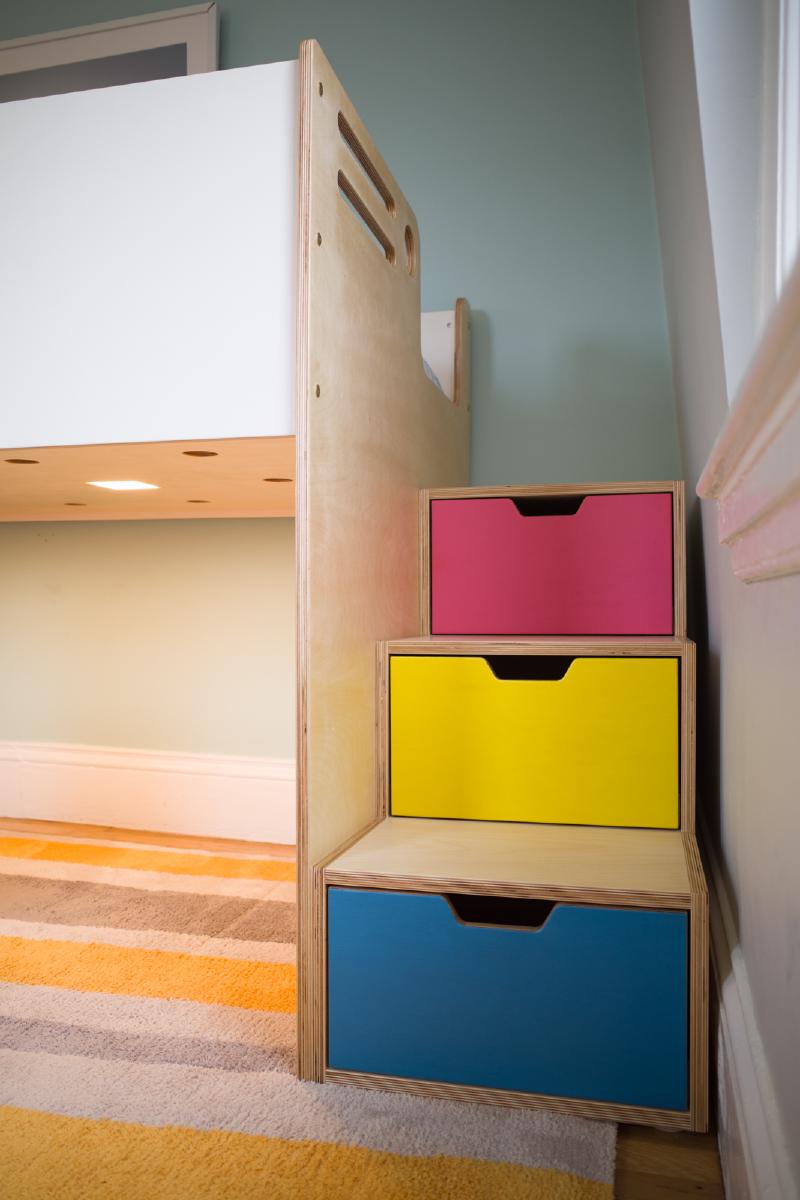
Here’s the completed stair-drawer unit. The drawer fronts are 18 mm CNC-cut birch plywood screwed to 12 mm plywood drawer boxes. From this angle you can also see one of the Lightly LED modules. The left side of the stair unit contains T-nuts that receive bolts through the right side of the bed. Clamping the pieces together stiffens the bed to the point where racking is basically undetectable.
Corner view showing the connector bolts that tie into the cross-dowel fasteners.
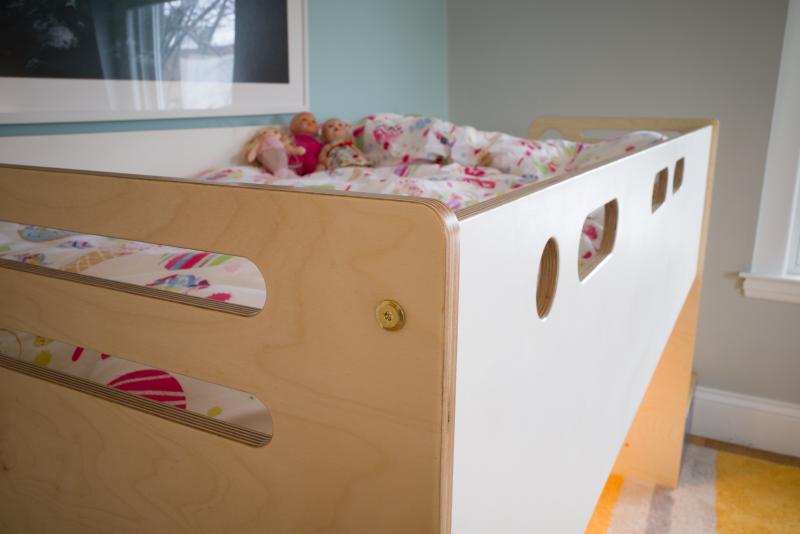
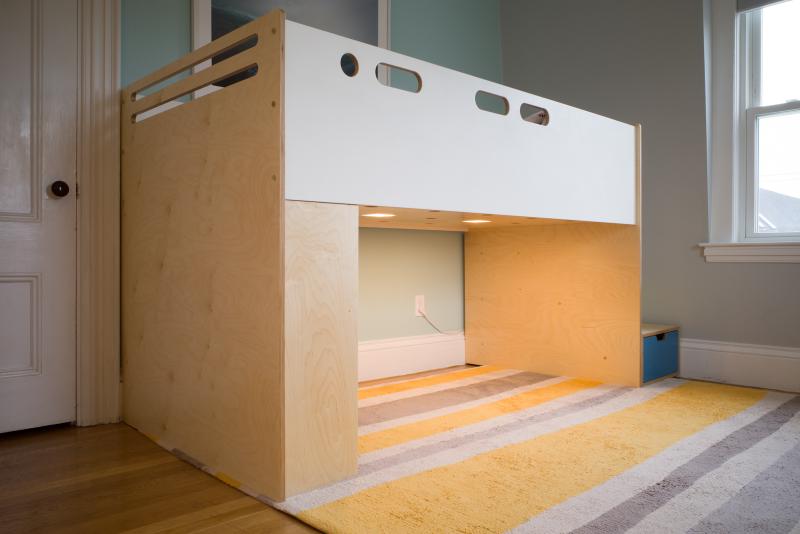
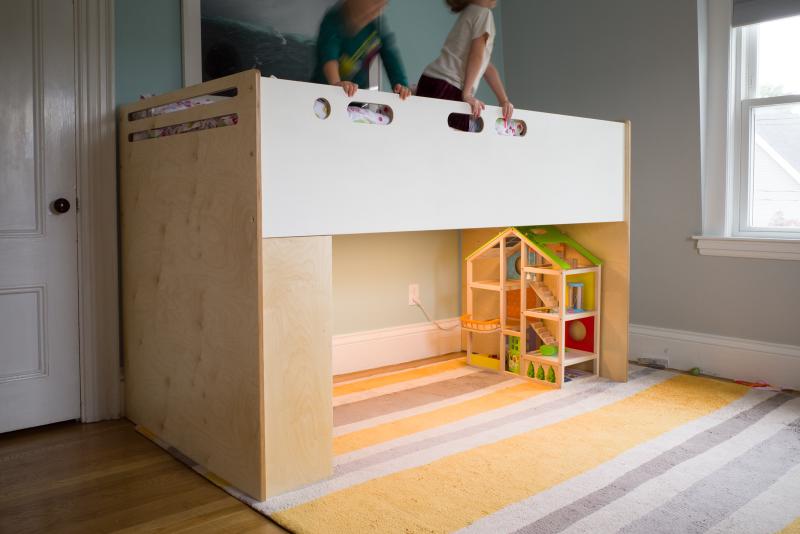
One last view of the finished bed. Can you find the secret message? It’s two letters chosen by my daughter.